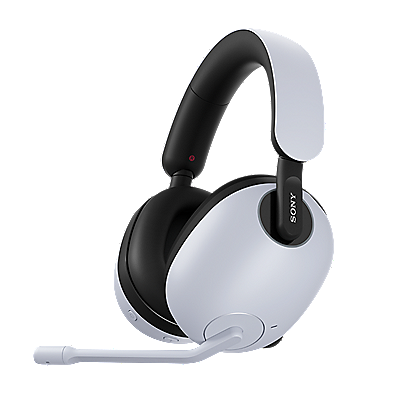
The headphones do not charge. (WF-C500)
Follow these steps to troubleshoot why the headphones do not charge:
-
Leave the charging case in a place with an ambient temperature between 15 °C and 35 °C (59 °F - 95 °F), and try charging again.
- The issue is resolved
- The issue may have been caused by the ambient temperature being too high or too low.
- The issue is not resolved
- Go to step 2.
-
Using the supplied USB Type-C cable, connect the charging case to a USB AC adaptor or computer, and check if the charging can be completed.
- The charging can be completed
- Use the USB Type-C cable that is supplied with the product. Charging may not be possible with a commercially-available cable or a USB hub.
- The charging cannot be completed
- Go to step 3.
-
Clean the charging port of the headphones, and check the indicator of the charging case.
Clean the headphones and charging ports, set the headphones into the charging case, and check the status of indicator on the charging case. For details on how to clean the headphones, refer to the How to care for the headphones article.
Note: When cleaning, do not use compressed air to remove dust as this can cause dust to get into the microphone or sound outlet holes, leading to malfunction.- The indicators light up in orange for about 1 minute and then turn off
The headphones are fully charged. Wear the headphones, connect to a device via Bluetooth, and check if you can hear the sound from the connected device.
If the sound cannot be heard, refer to the There is no sound, or sound is only heard from one side of the headphones article.- The indicators repeatedly flash slowly in orange for about 15 seconds
The remaining battery of the headphones is 20% or lower, or the remaining battery of the charging case is 30 % or lower. Go to step 4.- The indicators repeatedly flash twice in orange
Go to step 5.- The indicators repeatedly flash slowly in orange
Go to step 5.
-
Set the headphones into the charging case, connect the charging case using the supplied USB Type-C cable, and check if the charging can be completed.
Note: Clean the charging port before charging.- The charging can be completed
- The charging port of the charging case may have been dirty. Note: Regular cleaning is recommended to prevent issues with charging.
- The charging cannot be completed
- Go to step 8.
- Set the headphones into the charging case, connect the charging case using the supplied USB Type-C cable, and check the indicator of the charging case again.
- The indicator lights up in orange when charging starts
The headphones are in the process of charging. Wait until the headphones are fully charged.- The indicators repeatedly flash twice in orange
Go to step 8.- The indicators repeatedly flash slowly in orange
Go to step 8.- The indicators do not light up
Go to step 6.
- Check if you can charge a different device with the same AC adapter or USB port.
Use the same AC adapter or the USB port on the computer to charge a different mobile device or product.- The mobile device or product can be charged
- Go to step 7.
- The mobile device or product cannot be charged
- The AC adapter or USB port may not be working. Contact the manufacturer.
-
Clean the charging port of the charging case, and check if the charging can be completed.
If any dust or dirt is in or around the charging port, the charging may not complete properly. Remove the dust or dirt with soft, dry cloth before charging.
- The charging can be completed
- The charging port of the charging case may have been dirty. Note: Regular cleaning is recommended to prevent issues with charging.
- The charging cannot be completed
- The headphones may be malfunctioning and service may be required.
-
Visit the Help Guide or view the How to reset video:
Tip: Learn how to turn captions on or off when watching Internet videos from YouTube
- The issue is resolved
- The issue may have been caused by a temporary malfunction of the headphones.
- The issue is not resolved
- Go to the next troubleshooting step.
-
Initialize the headphones.
Note: Initialization returns the headphones to the factory settings and all Bluetooth pairing information is deleted.Visit the Help Guide or view the How to initialize video:
Tip: Learn how to turn captions on or off when watching Internet videos from YouTube
- The issue is resolved
- The issue may have been caused by a temporary malfunction of the headphones.
- The issue is not resolved
- The headphones may be malfunctioning and service may be required.


